So, I’m a bit behind on the posting front because I’ve been mired in pre-production for my short film that shoots in July. In fact, “The Lake” is the first film to be featured in the Tarakata Films production blog. You can find out more about the film at the following links:
Find out more and follow our journey from script to film on our production blog:
http://tarakatafilms.wordpress.com/
“Like” our Facebook page for notifications of production updates and screenings:
http://www.facebook.com/pages/The-Lake/142515309154472
Check out our IndieGoGo campaign to help us get the film made:
http://www.indiegogo.com/The-Lake-1
But first, check out my new DIY Spider Dolly! I followed Just Basl‘s video DIY, with a few adjustments, which I will outline below.
Here are the pieces I used for my DIY dolly!
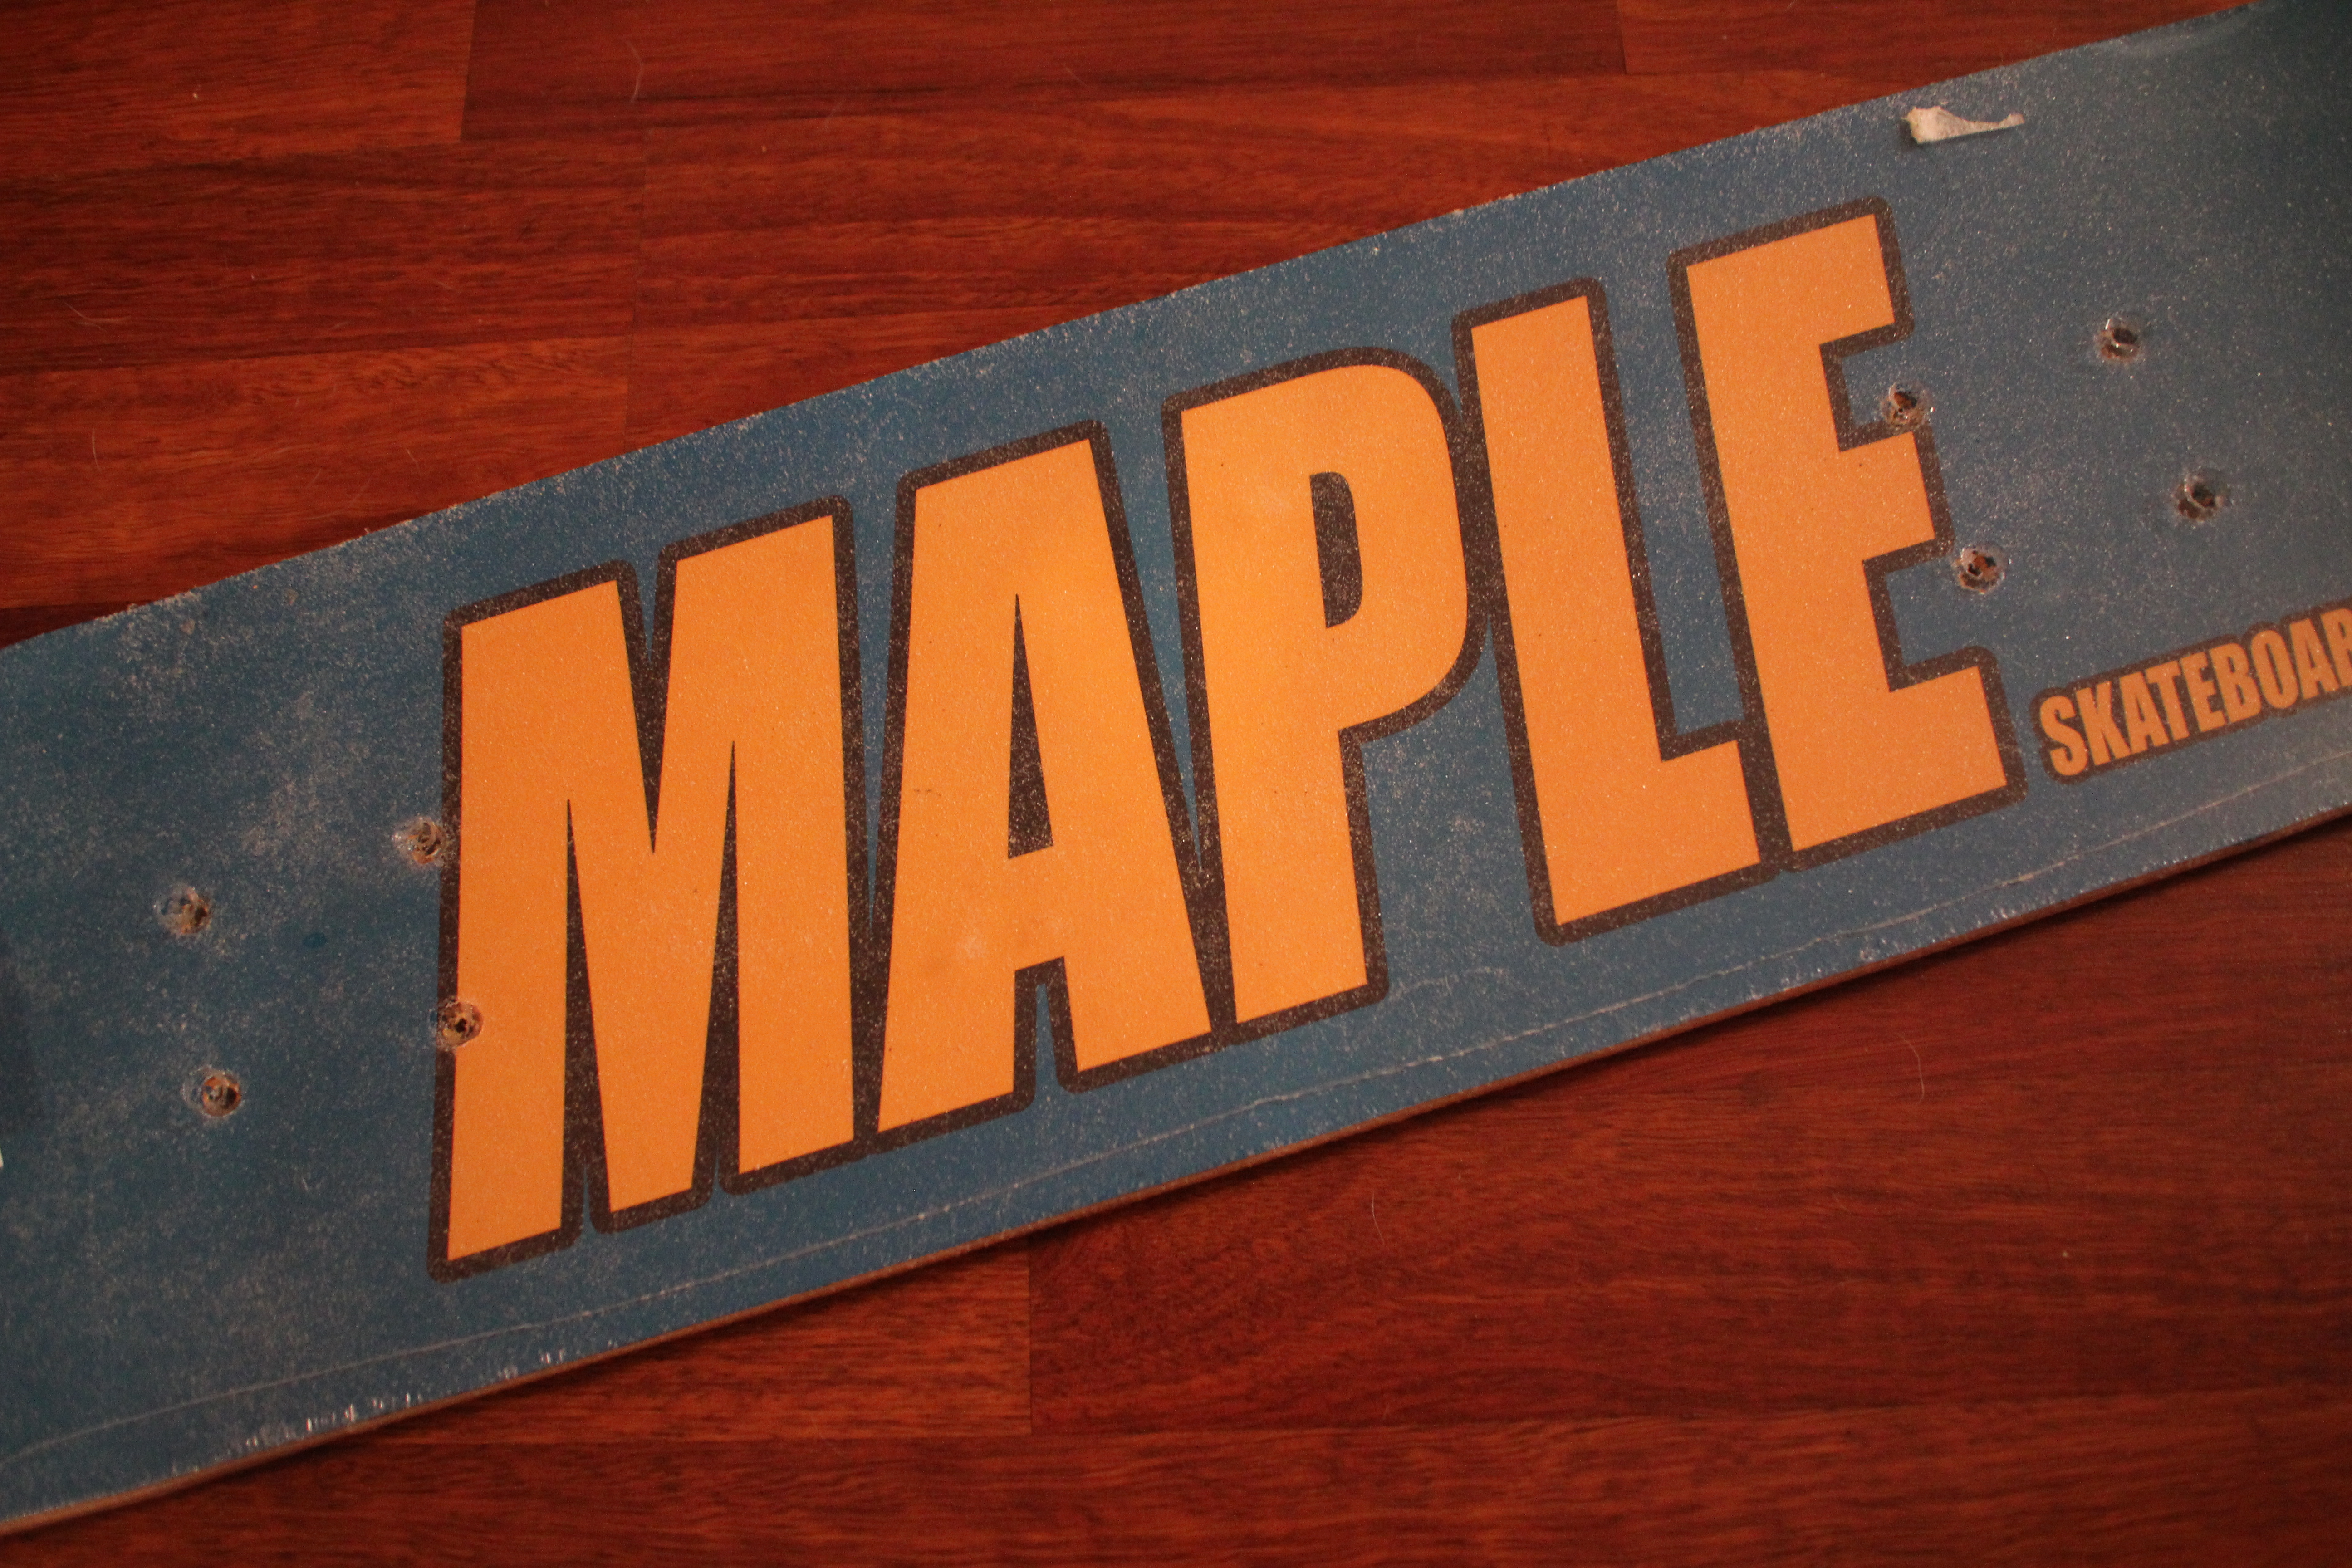
Skateboard: ($20) This is the one I got, but if you can find a cheaper one, so much the better! 🙂
http://www.target.com/Maple-Masters-Slap-Skateboard-Blue/dp/B004EMYK7O/ref=sc_qi_detaillink
Cheeseplate: ($15) Glidecam calls them weight plates, but they’re cheeseplates.
http://www.bhphotovideo.com/c/product/656408-REG/Glidecam_GLCWP_Camera_Weight_Plate.html
Carriage Bolts & Wingnuts: (<$1 each) Available at Lowes and Home Depot. I got one set of 3/8″ (#20) and one of 1.4″ (#16), both 2″ long. I recommend taking your skateboard trucks and cheeseplate in to make sure you get a good length for your setup.
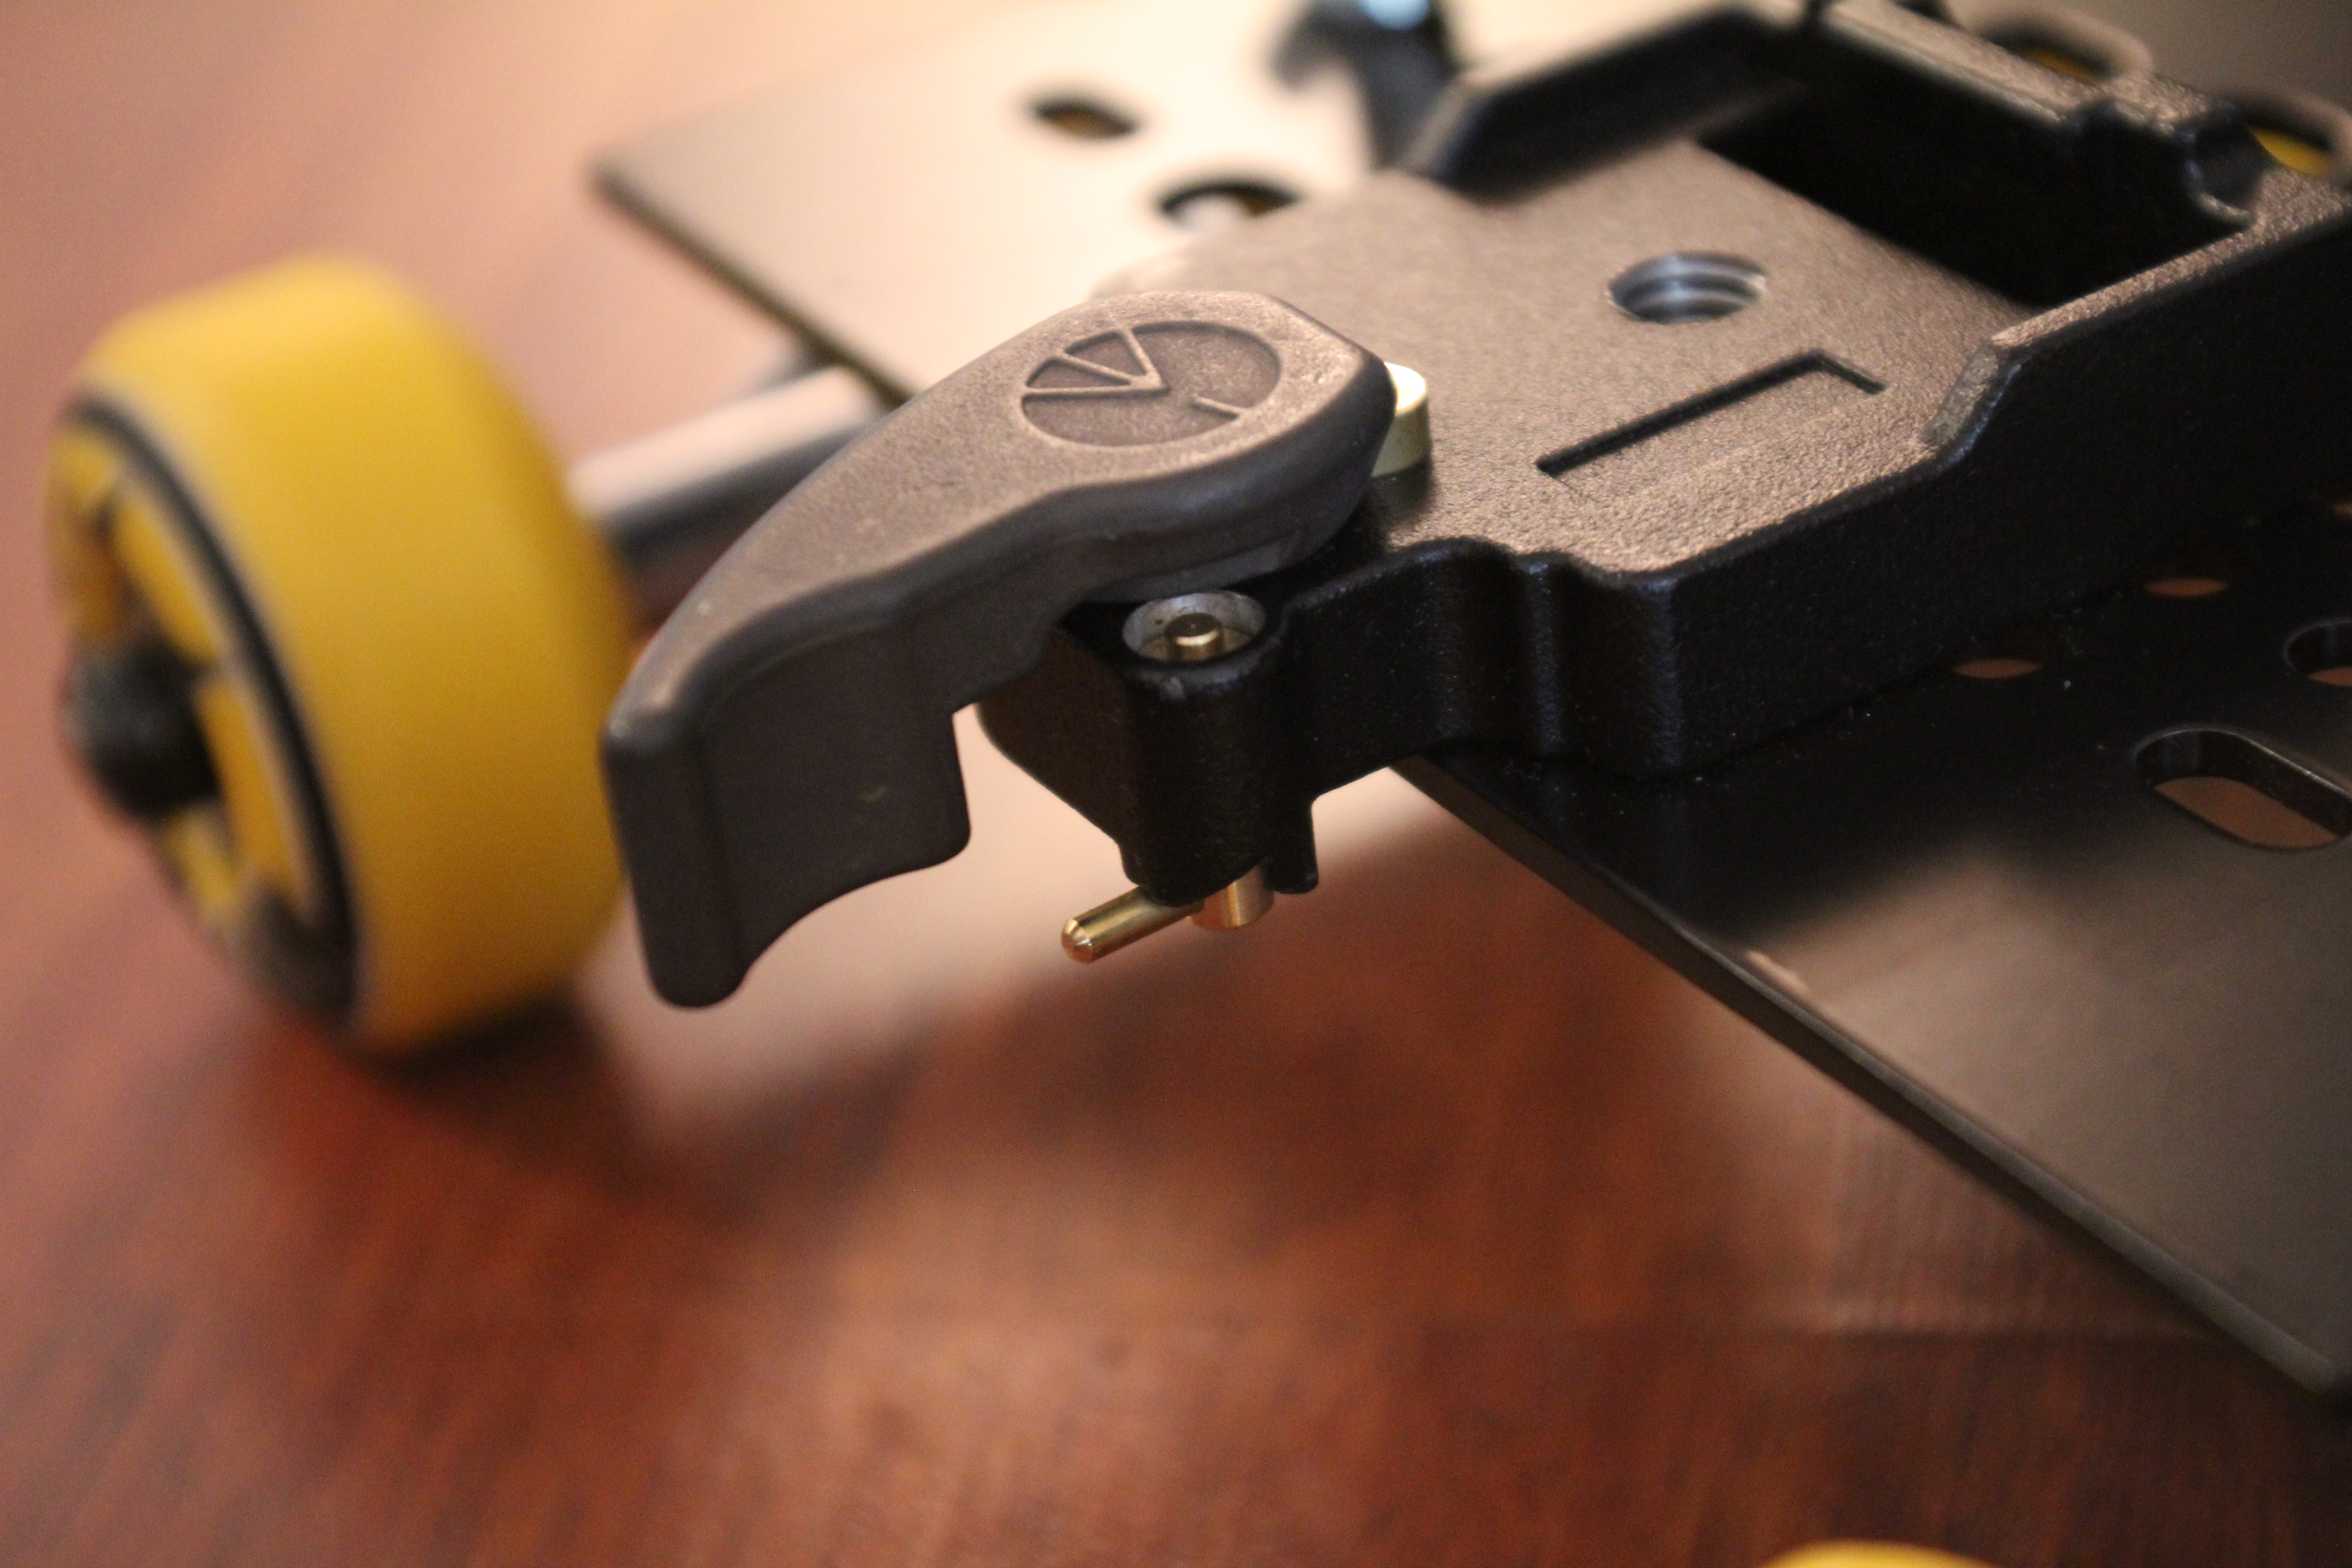
Quick Release Plate: ($30) I got a few of these, one for my DIY dolly, one for my tripod, and one for my shoulder mount. This way, I can switch from one mount to another in the blink of an eye!
http://www.bhphotovideo.com/c/product/554141-STUD/Manfrotto_323_323_RC2_System_Quick.html
And here’s how I put mine together:

- The video calls for carriage bolts and wingnuts to attach the cheeseplate. I got two different sizes, since the holes on the cheeseplate are bigger on one end than the other and I needed to attach them as far out as possible, so the prongs that stick up from the trucks wouldn’t interfere with the cheeseplate lying flat. Also, that way the bolt wouldn’t wiggle around in the hole.
And here are a couple shots I did with my little dolly at a wedding last weekend!
Here’s the dolly with the wheels set for a straight path:
And here it is with the wheels set to follow the curve of the table it was on:


Leave a Reply
You must be logged in to post a comment.