
 One of the most powerful features of LinkedIn is the ability to share online resources via status updates, in groups, and/or with individual contacts. Doing so allows professionals to open a dialogue about the topic being shared and learn from others in their fields. The LinkedIn bookmarklet is a great tool to facilitate this sharing; however, many people are either unaware of its existence or don’t know how to install and use it. This Tech Tip offers simple guidance to help people effectively leverage this valuable tool. (This post was written by Sean Pearson)
Have you just finished reading a great article and thought “Hey, this would be great to share on LinkedIn (LI)” (via a status update, with one or more groups, and/or with one or more contacts)? Did you look for the LI Share button only to discover it was nowhere on the page? There’s an easy way to avoid having to copy the URL, open your LI account, and try to individually share it with your network, groups you belong to, and/or specific individuals. You can use the LinkedIn bookmarklet!
The LinkedIn bookmarklet is a useful tool that allows you to share articles (as well as blog posts and webpages) directly on your profile, to your groups, and/or with people you know. Since not every webpage has a LI social sharing button (and even when they do) the bookmarklet can come in very handy. This Tech Tip will walk you through the installation and usage of the LinkedIn bookmarklet.
Installation
Just four simple steps:
- Open http://www.linkedin.com/ and log into your account.
- At the bottom of any page, find and click Tools.
- Click the Sharing Bookmarklet tab.
- LI will detect the browser you are using and will provide simple instructions on how to install the bookmarklet on your browser’s toolbar.
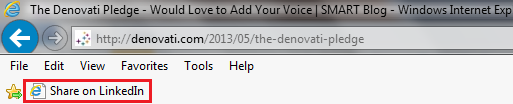
Now the LinkedIn bookmarklet is available on your toolbar wherever you are on the Internet.
Before You Share
Ever wonder what all that gobbledlygook at the end of a URL is? Well, virtually all websites add tracking codes to the end of the URLs for specific pages so they can evaluate traffic flows and other activity. Here are some examples:


Tracking codes can appear after the backslash (/?goback), the html extension (.html?goback), or after the domain (.com?goback). These tracking codes may cause errors when individuals click the links, as some websites do not recognize them. Therefore, it is generally a good practice to delete them from the URL in your browser’s address bar and hit Enter to reload the page before you share.
Some websites, and practically all blogging platforms, use ?page_id=121 or something similar are part of their navigation. If you delete the page id the desired webpage will not load. If that happens, simply back-up to the original page and delete less of the code to produce a functional page with the cleanest url.
Usage
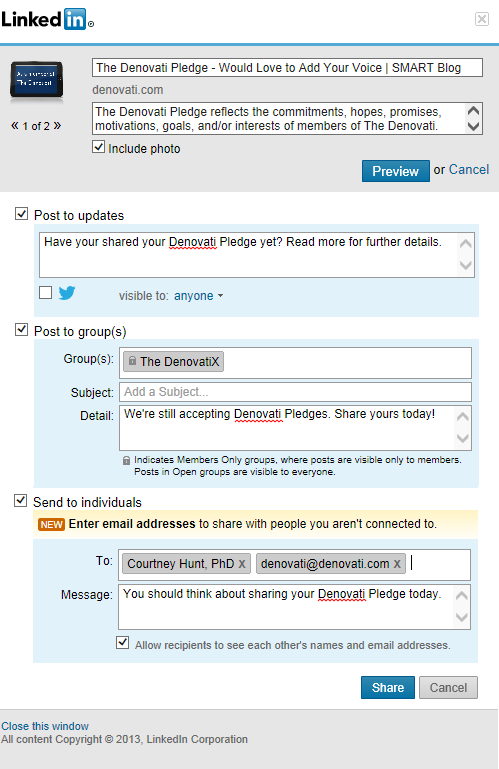
After you’ve cleaned up the URL for an article, blog post or webpage you want to share, click on the LinkedIn bookmarklet and a popup like the one below will appear. This popup can be divided into four sections. We’ll discuss each in turn to keep things simple.
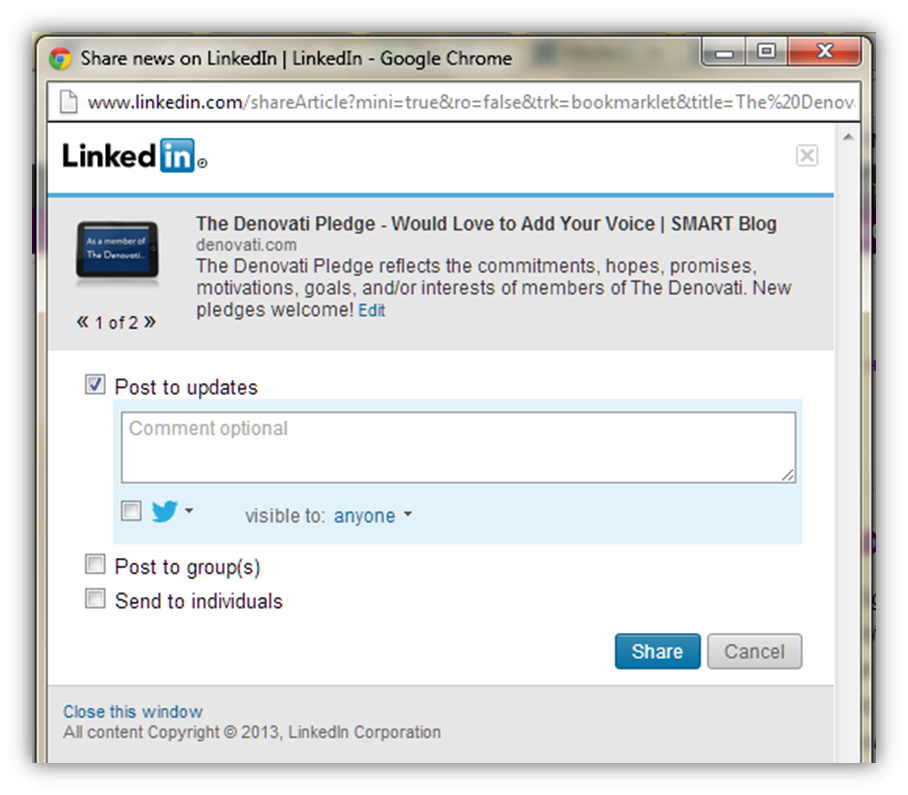
Part 1: Article/page information
This information is pulled from the shared article or page. It’s always a good idea to review each of the elements before sharing. If needed, you can change the picture, title, or description by clicking Edit listed after the description.
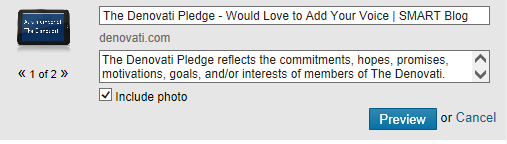
- Photo: Use the arrows (<< >>) to cycle through the pictures or uncheck the Include photo box under the description to choose none.
- Title: The title in the top right box matches the title displayed in your browser’s title bar. If this doesn’t match the article title, copy/paste the correct text. Also, if space allows, it is good practice to include the source of the article. In some cases, if the title is too long, you may want to delete some of the less-critical information.
- Description: This is generally populated by the article/blog post, either with the excerpt or the beginning of the first paragraph. Make sure it’s an appropriate representation of the piece. It’s always good to complete any sentences that may have been cut off. And if the description is blank, it’s a good idea to add one by copying/pasting the first paragraph of the article/post.
Section 2: Profile/status update sharing
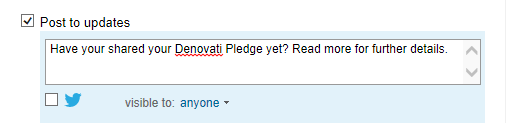
If you’re sharing the article on your profile, click the Post to updates checkbox. You can add a comment, or just post it with the title and description from above. It’s generally better to add a comment, both because it helps put the share in context and because it increases the likelihood people will click on the link when the update is shared via an email digest service like Social Oomph, which won’t expand the link to include the article information (all they’ll see is a short lnkd.in url).
If you have a Twitter account and have connected it to your LI profile, you can also tweet the article by clicking the appropriate box. Leave the visible to portion on anyone unless you want to change it to connections only.
Section 3: Group sharing

Share your article to your favorite group, like The Denovati.
- Check the Post to group(s) checkbox.
- In Groups start typing the name of the group and then click the name when it appears. Repeat for all desired groups.
- You have the option to add a both a Subject or Detail. Both are optional, and will appear above the article in the Discussions tab of the group.
- There’s no need to add a subject, but you should consider adding a brief comment explaining why you’re sharing the post and/or what value you’ve derived from it. Keep in mind that this is the first impression people will get about your article. Keep it short but long enough to get the point across.
Section 4: Sharing with individuals
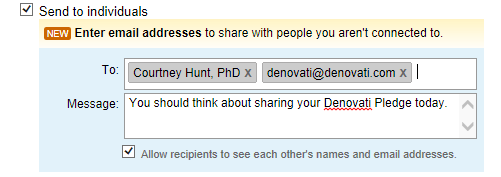
You can send the article as a LI or email message to individuals.
- Connection: Start typing in your connection’s name and click the correct name once it appears.
- Email: Type in the whole email address and then click next to the completed address.
Enter any desired message into the Message field. Unless the people you are sending the article to know each other, it’s probably a good idea to uncheck the Allow recipients to see each other’s names and email addresses box.
Sharing
Once you’ve selected your options, click Share. As you can see from the example below, you can share an article, blog post or webpage via any option combination. If you choose all three options plus Twitter and email, you can utilize five methods of engagement with one tool.
![]()
We hope you’ve enjoyed learning more about the LinkedIn bookmarklet. Should you wish to see Tech Tips related to a specific topic, or wish to share one yourself, please let us know in the comments below.


Leave a Reply
You must be logged in to post a comment.