
![]() This is the third in a series of posts about planning. Read 5 Reasons to Plan For the New Year, if you’re on the fence about planning. Read How to Plan a Productive Day if you want immediate action steps you can use today.
This is the third in a series of posts about planning. Read 5 Reasons to Plan For the New Year, if you’re on the fence about planning. Read How to Plan a Productive Day if you want immediate action steps you can use today.
Benefits of Planning Your Year
Planning your year is essential if you have large multi-part projects or goals that you want to meet in a given timespan. If you set—and meet—project milestones throughout the year, it avoids a lot of “due date frenzy.”
You know what I’m talking about: you turn the page on the calendar and see that big red “X” that means a project is due…but you haven’t done the groundwork to complete it. Now, you have to slip into overdrive—maybe work some overtime—in order to keep to the plan.
Yearly planning propels your long-term strategy forward, and helps keep you focused on the end goals so you can avoid the frenzy.
3 Steps to Successful Long-Term Planning
- Define your big goals.
- Break down each goal into smaller, finite steps.
- Execute each step and monitor progress.
1. Define Your Goals
Some projects are assigned to you, some you create for yourself. Either way, write down what these goals are, and what determines a successful outcome. Be specific. If the project has been assigned to you, (as opposed to a goal of your own), make certain you understand what your supervisor is asking of you. This may require some discussion.
For example, my team was once tasked by a supervisor to clean up files on the server by the end of the year. This nebulous directive required a meeting. We asked: what’s the purpose of the clean-up? What do we do with the cleaned-up files? Does this need to be done by the end of the fiscal year or calendar year?
The answer: we needed to make room for a 500 GB data set by the end of the fiscal year. The old files could be archived to an internal server or deleted, if they were no longer required. This became our project goal: Clear at least 500 GB of unused files from the server by September 30. This was much more specific than the original goal, and included built-in success factors: couldn’t clear 500 GB? Fail. Didn’t achieve it by September 30? Fail.
2. Break Large Goals into Several Tiny Steps
Q. How do you eat an elephant?
A. One bite at a time.
It’s a tired joke—but like many adages, there’s truth behind it. Large goals can seem overwhelming. Breaking them into smaller tasks makes the entire project more manageable. It also provides some psychological comfort: each task accomplished is a tiny win, and a step toward completion. They build momentum and excitement on the way to the finished project. It’s satisfying to cross each task off the list.
3. Execute and Monitor Progress
Track your progress as you complete each step. Make adjustments as needed to keep on schedule. Celebrate the completion of large milestones.
The Practical Steps of Planning
Be prepared to spend a few hours planning out your year. The more detailed you are, the longer it will take; but spending time in the fine details now will help weekly and daily planning later.
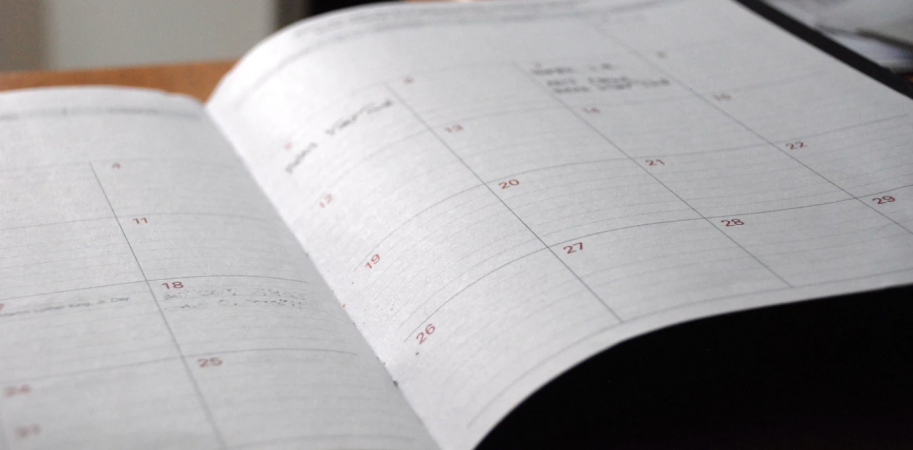
You’ll need some office supplies: a full year of monthly calendars—or a large yearly calendar you can pin to the wall. (This visual is enormously helpful when planning.) A method to capture some thoughts—either electronic or on paper—and something to mark up your calendar with. Pencil is good at this stage.
You’ll also need your project list, your to-do list, and a list of “fixed obligations.” These “fixed obligations” consist of meetings, tasks or reports that occur on specific dates and are, for the most part, immmoveable. It should also include vacations, conferences, business travel and training dates.
Once you have all this available, the fun begins.
1. Set Your Fixed Obligations.
On your calendar, write in all of your fixed obligations. These are the events and situations that can’t be changed, so you must slot your goals and projects around them. Putting them on the calendar first provides a framework for the rest of your goals.
2. Add Projects and Personal Goals
Add whatever project-related due dates you have on the calendar. Next, add due dates for any personal goals you want to accomplish during the year.
3. Schedule the Smaller Tasks and Milestones
This is the time-consuming part.
For every project or goal you plan to accomplish for the year, grab a sheet of paper and write the defined goal, expected outcome, and due date at the top. Next, list the tasks you need to accomplish to complete the goal. Include by each task the amount of time you believe it will take to complete. However long you think it will take, add at least one-third more time in order to build in a cushion for unexpected delays.
For each project, start from the bottom of the list (the last task due before the project is done) and work backward from the due date (already penciled in on the calendar) to add all tasks to your calendar.
For example, you have a small project due February 2, and there are three tasks that need to be accomplished:
- Task A – (3 days)
- Task B – (4 days)
- Task C – (9 days)
Find February 2 and count backwards on the calendar nine days—skip weekends, unless you work weekends, and take into account any immovable items. Wherever you land, pencil in: “Start Task C.” In this fashion, Task C might actually require two weeks or more to accomplish. For Task B, count backwards from Task C’s start date. Do the same for Task A.
Schedule your most important projects first, since their due dates and milestones may act as “immovable items” for goals with a lesser priority.
Once all of your project tasks are scheduled, you’re done your yearly planning!
Wrapping Up
If you planned only using the yearly calendar, now’s a good time to copy things to the monthly calendars. Next time, we’ll plan your week based on the monthly calendars which are easier to use when sitting at your desk.
A Note About Paper Versus Electronic
It’s good practice to visualize the entire year at once when planning, which is why I suggest using a giant wall calendar. But I recognize that digital is infinitely more portable. Personally, I plan on paper and then transfer to digital—I enjoy the “searchability” of a digital calendar and the pop-up reminders when I’m sitting at the desk. But I print the monthly calendar and carry it with me since I prefer to see and make changes on paper.
To each his own—find a method that works for you. There’s no one right way.
Kelly Harmon is a GovLoop Featured Contributor. By day, she is the Webmaster of the National Agricultural Library, where she spends her time analyzing web statistics, supporting the various NAL web sites, and writing the occasional article for Tellus Magazine, produced by the Agricultural Research Service, USDA. By night, she is an award-winning journalist and author, and a member of the Science Fiction & Fantasy Writers of America and the Horror Writers Association. She’s a bit of a word-nerd, and relies on her planner to keep life sane. You can read her posts here.


Leave a Reply
You must be logged in to post a comment.